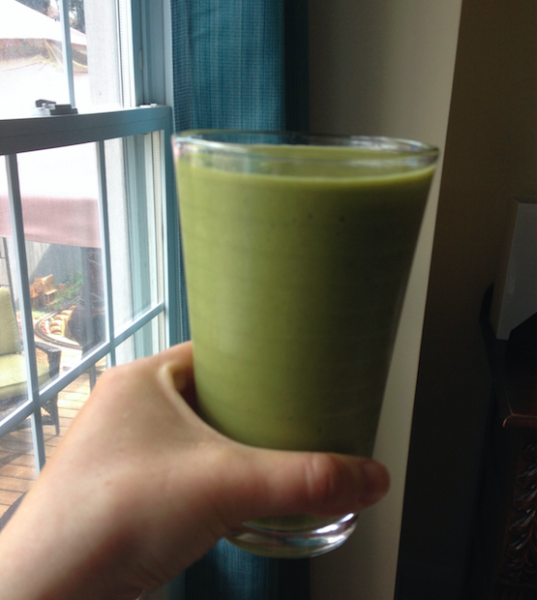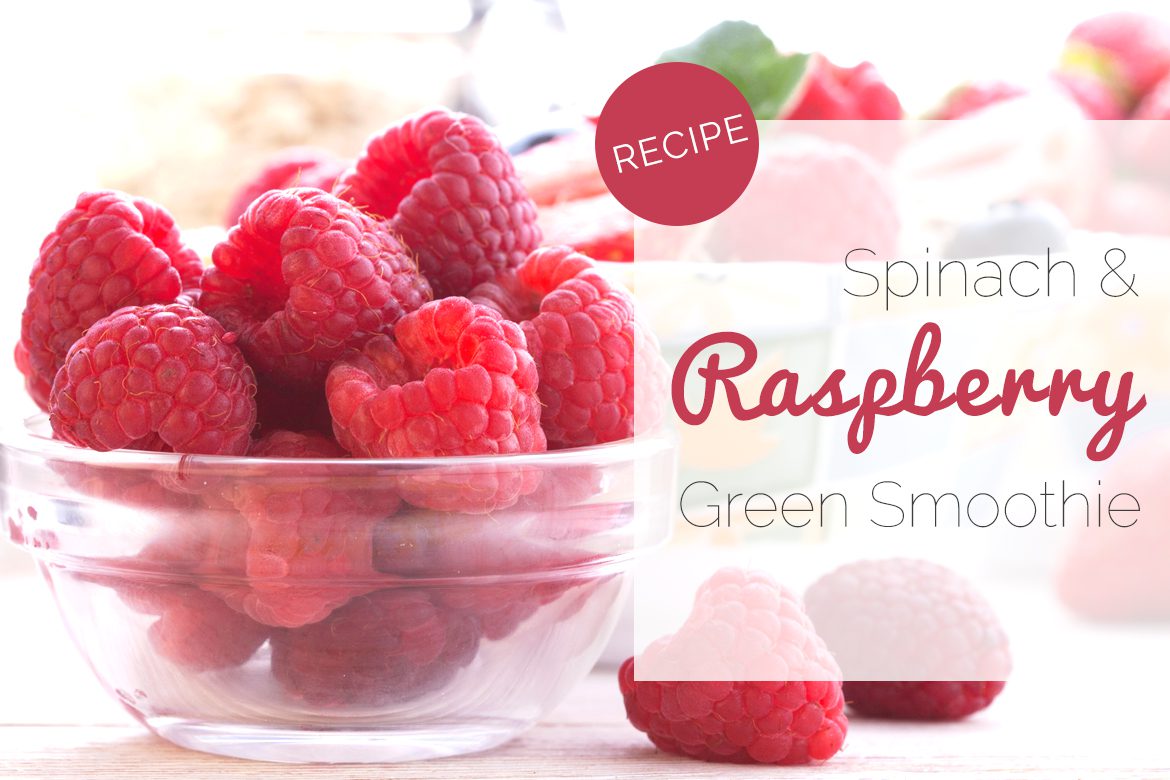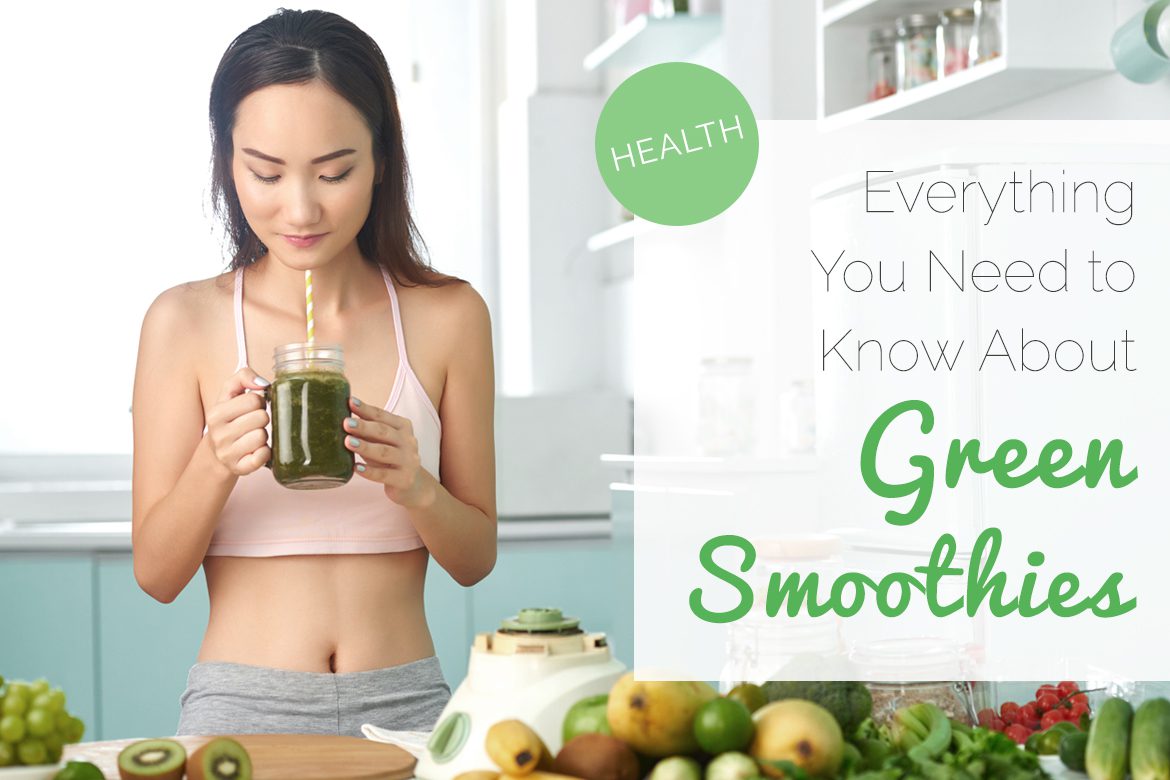
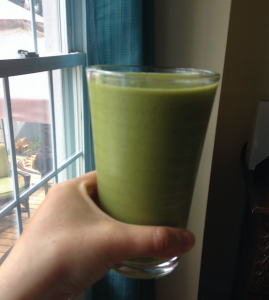
365 days of green smoothies! Well, I maybe take a few days off for juice fasting and vacations when I don’t carry a mini blender with me, but still… there are a lot of green smoothies in my life! I make at least 2 servings of green smoothie every morning for my husband and me, and sometimes I make extra. Green smoothies store very well in mason jars in the fridge and are perfectly good the next day, so sometimes I make a batch in advance if I know I’m going to be busy.
Green Smoothie Benefits
How many servings of fruits and veggies do you think you really eat every day? Most people just don’t get enough, and a lot fewer servings than they’d like to think. Most people only get 3-4 servings a day when they should be consuming 5-9+. More fruits, and especially vegetables, helps to regulate your blood sugar and prevents heart disease, cancer and other illnesses.
Starting your day with a green smoothie is a quick and convenient way to start your day with 3+ servings of fruits and vegetables. Blending also makes the vegetables easy to digest and assimilate, and each smoothie is full of healthy fibre. A smoothie is a particularly great way to consume leafy greens; with no chewing involved and the sweet flavour of the fruit, it couldn’t be easier to kickstart your day.
Green smoothies are full of phytonutrients and are very high in antioxidants. With all of the vitamins, minerals, and all around nutrients that you’re consuming first thing every morning, green smoothies really help boost your energy. They also help with mental clarity.
You’ll not only feel better from drinking green smoothies but you’ll look better too. Green smoothies are great for your skin and are great for weight loss and weight management. Starting your day with a green smoothie will also help to reduce your cravings for sugar and junk food.
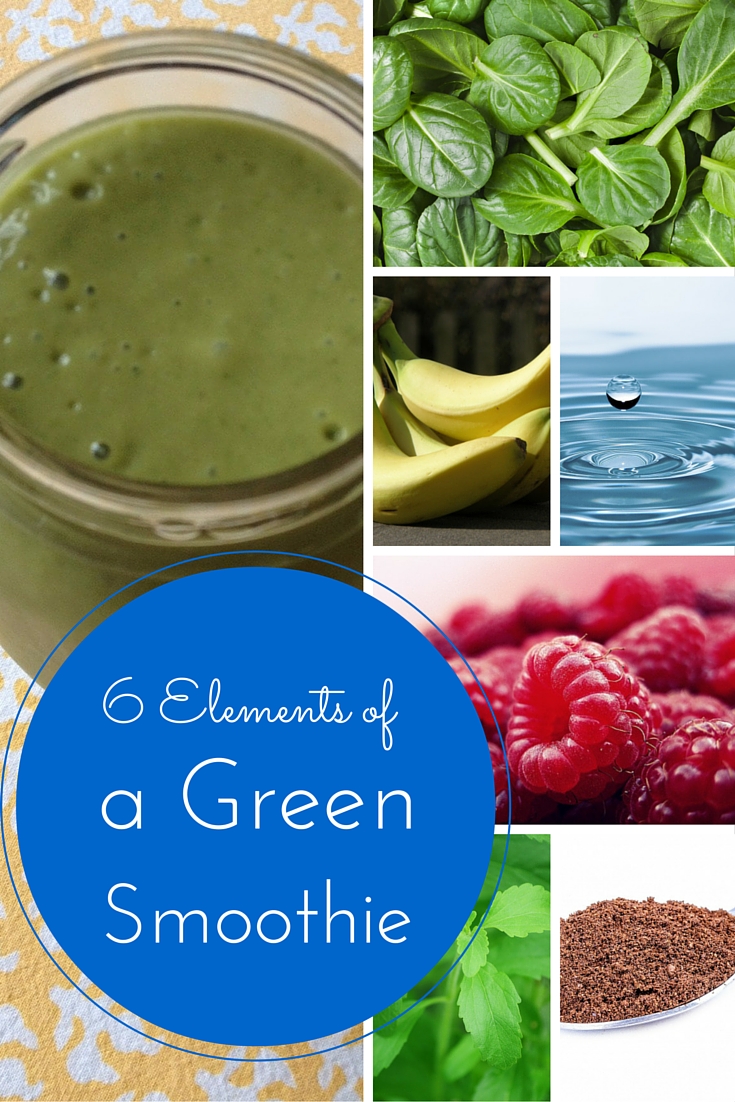
Components of a Great Green Smoothie
 I’ve been playing around with green smoothies on a daily basis for a few years now, and I’ve come to understand that a good green smoothie is made up of the following components:
- Leafy Greens
- Fruit of Choice
- Thickener/Something Creamy
- Liquid
- Superfoods/Supplements (optional)
- Sweetener (definitely optional)
1. Leafy Greens
It wouldn’t be a green smoothie if it didn’t contain a green vegetable. My preferences are spinach or kale. I use a lot of baby spinach, and generally I use one serious handful of spinach per serving. Note that my smoothie recipes are always for 2 servings, so for spinach I would use 2 big handfuls. For kale, I use 3 leaves per serving, so that’s 6 good sized leaves.
I also sometimes use mixed greens, chard, or other green vegetables that I have in the fridge. However, some of the other greens can have stronger flavours that don’t integrate into the smoothie quite as well, so I would be more conservative with other greens. Romaine, for example, is surprisingly sour in a smoothie.
On occasion, I do a wacky smoothie with something like shredded carrot instead of a green vegetable. You can also throw in the ends of raw zucchini that are left after spiralizing zucchini noodles.
2. Fruit of Choice
The defining flavour of your smoothie (unless you’re making a chocolate or peanut butter smoothie) will be the fruit that you choose. I like to use frozen fruit, and the frozen element also acts as a thickener in the smoothie. Frozen berries, particularly raspberries are my first choice, followed by mixed berries. While blueberries are delicious, they have a lot of pectin and using straight blueberries rather than a mix of berries will cause your smoothie to over-thicken and even separate. Another reason why I like raspberries is that because they have the strongest red colour and will make your green smoothie red. Other berries will give your smoothie a muddy colour when mixed with the greens, but you get over the colour pretty quickly. However, it’s still appealing to have a red smoothie once in a while, and raspberries are bold and delicious.
My second and third choices for fruit are pineapple and mango. These have good flavour profiles to go with the greens, and you have the added bonus of a bright green smoothie when you use these.
Rule of thumb: I use about 1.5 cups of fruit for 2 smoothie servings.
Note: I don’t include banana as a fruit in this context, I use it as a thickener. See below.
3. Thickener/Something Creamy
Without a thickener, your smoothie will come out watery which is less tasty and also less filling. I don’t believe in smoothies as a “meal replacement” or just a drink – rather, to me a smoothie is a meal. Including a thickener is important. Thickeners also add a delicious creamy element. Thickeners include:
- Banana
- Nuts or seeds
- Avocado
- Coconut, hemp, or flax oil, or sunflower lecithin
- Something frozen (like your banana, your other fruit, or ice cubes)
- Protein Powder
Though banana is a fruit and there is other fruit in your smoothie, I find that a smoothie just isn’t the same without at least some banana in it. 1/2 to a full banana per serving is ideal. I often use 1.5 bananas for 2 servings and set aside the other half a banana to have with my lunch. If you’re not keen on banana, consider adding avocado, hemp seeds, raw cashews, almonds, or pumpkin seeds to your smoothie and definitely don’t skip a frozen element as you’ll need these other ingredients to thicken in the banana’s place.
My absolute favourite protein powder is Sunwarrior Protein-Vanilla. We include it in every single smoothie. It’s a raw vegan protein powder and the classic vanilla is delicious. The Sunwarrior Protein-Chocolate is also really good. I’ve tried a lot of different protein powders over the years and this one is by far the best. It’s tasty and makes the smoothie wonderfully creamy.
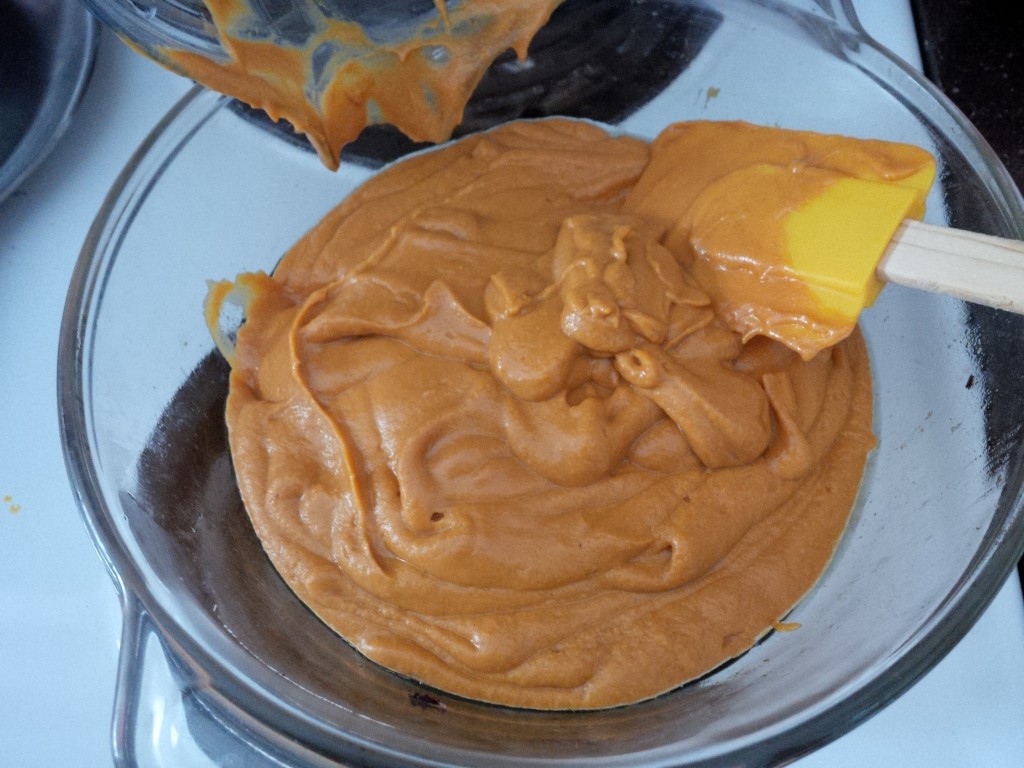
I also often add some coconut oil to my smoothie. Because coconut oil reacts to the cold, I blend it with water and all of the room temperature ingredients first before adding anything frozen. That way, it won’t get tiny specs of solid coconut oil. Hemp and flax oil can have a strong taste so you might like to add a pinch of stevia. Brazil nuts are rich in selenium which helps to prevent small tumour formation – particularly in men – and I include 3 brazil nuts per serving for my husband and me. I don’t personally use avocado in my smoothies very often but it does add a luxuriously creamy component that can be a great treat.
4. Liquid
While many people use nut milk, soy milk, coconut milk or coconut water, or even juice in their green smoothie, I absolutely don’t see the point. If you’ve used the right quality ingredients for the rest of your smoothie, you don’t need anything but filtered water. These other ingredients just contribute to a higher cost per smoothie, and also unnecessary calories. I would adjust your creamy component of your smoothies first, but if you aren’t using a protein powder for example, you might consider using a nut milk in your smoothie.
5. Superfoods/Supplements
You can also supplement your smoothie with superfoods and supplements. I always include maca, reishi, and chaga to my smoothie, as well as drops like B12, iodine, and vitamin D in the winter. There are so many supplements and superfoods available and it can be a tough field to navigate. I’ve tried most of them and it’s taken me a while to figure out what’s right for me and my husband. 6. Sweetener (Optional)
You don’t necessarily need a sweetener! However, when supplementing green smoothies with certain strong superfoods, like reishi, I do sometimes find it necessary to sweeten the smoothie if it’s become bitter. I personally always use stevia. I would never use any kind of processed sugar.
A date or two are also good choices if you have a good blender. I might consider a drop of maple syrup, agave, or coconut syrup, but stevia in either liquid drops or a pinch of the powder does the trick. Depending on the flavour profile of your smoothie, a little cinnamon can also be a nice complement.
How to Blend Your Smoothie
If you have a high powered blender like a Vitamix, you can put all of your ingredients in and not worry about the order of things. However, if you’re working with a standard blender, you can take a few steps to make things work more efficiently in your machine.
- Start with your liquid and your base fruit. Pulse first, then blend.
- Add your thickening ingredient. Pulse first, then blend again.
- Add your greens. You can also add your superfoods and any powders at this stage and put the greens on top of the powder so that it doesn’t puff up. Pulse, then blend.
- Once all of your ingredients have been added, taste your smoothie and determine if it needs a little sweetener like stevia. You can usually skip this step altogether, and definitely taste first before assuming that you need sweetening. Only bitter superfood powders should require the addition of sweeteners as the fruit is already sweet enough.
- NB: When I include coconut oil in my smoothie, I change the order of ingredients. Because coconut oil reacts to the cold, I blend it with water and all of the room temperature ingredients first before adding anything frozen. That way, it won’t get tiny specs of solid coconut oil.
Invest in a Good Blender
My prized possession – truly, my dessert island piece of kitchen equipment – is my Vitamix. Yes, they’re pricey. However, I use it every single day and have been using it every day since I bought it in 2011. Seriously. Everyone who owns a Vitamix will say the same thing. It’s an amazing piece of equipment and you’ll never regret the purchase.
How to Wash your Blender
It wasn’t until I got a Vitamix that I learned about how to really care for a blender. Why didn’t anyone tell me about this technique sooner? When you’re done making your smoothie, give it a rinse and then fill it part way with water and some soap. Then put the lid on it and run it! It becomes a self-cleaning tool! You’ll still want to wipe it out with a sponge to make sure that no residue builds up in the various nooks and crannies but this is by far the most efficient way to clean and care for your blender.
Get into the habit of washing your blender right after use rather than letting it sit around. With this method, cleaning is super quick so there’s no reason to leave it sitting around, especially not over night. I like to flip my blender upside down to let the water drip out while it’s drying.
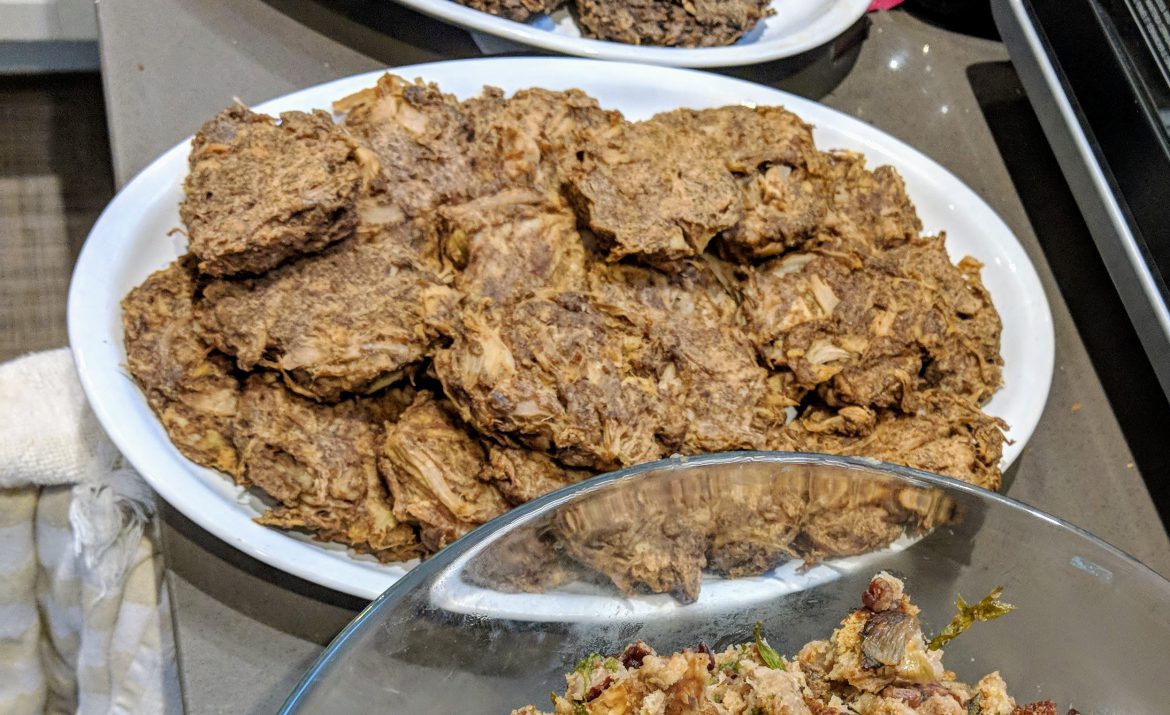
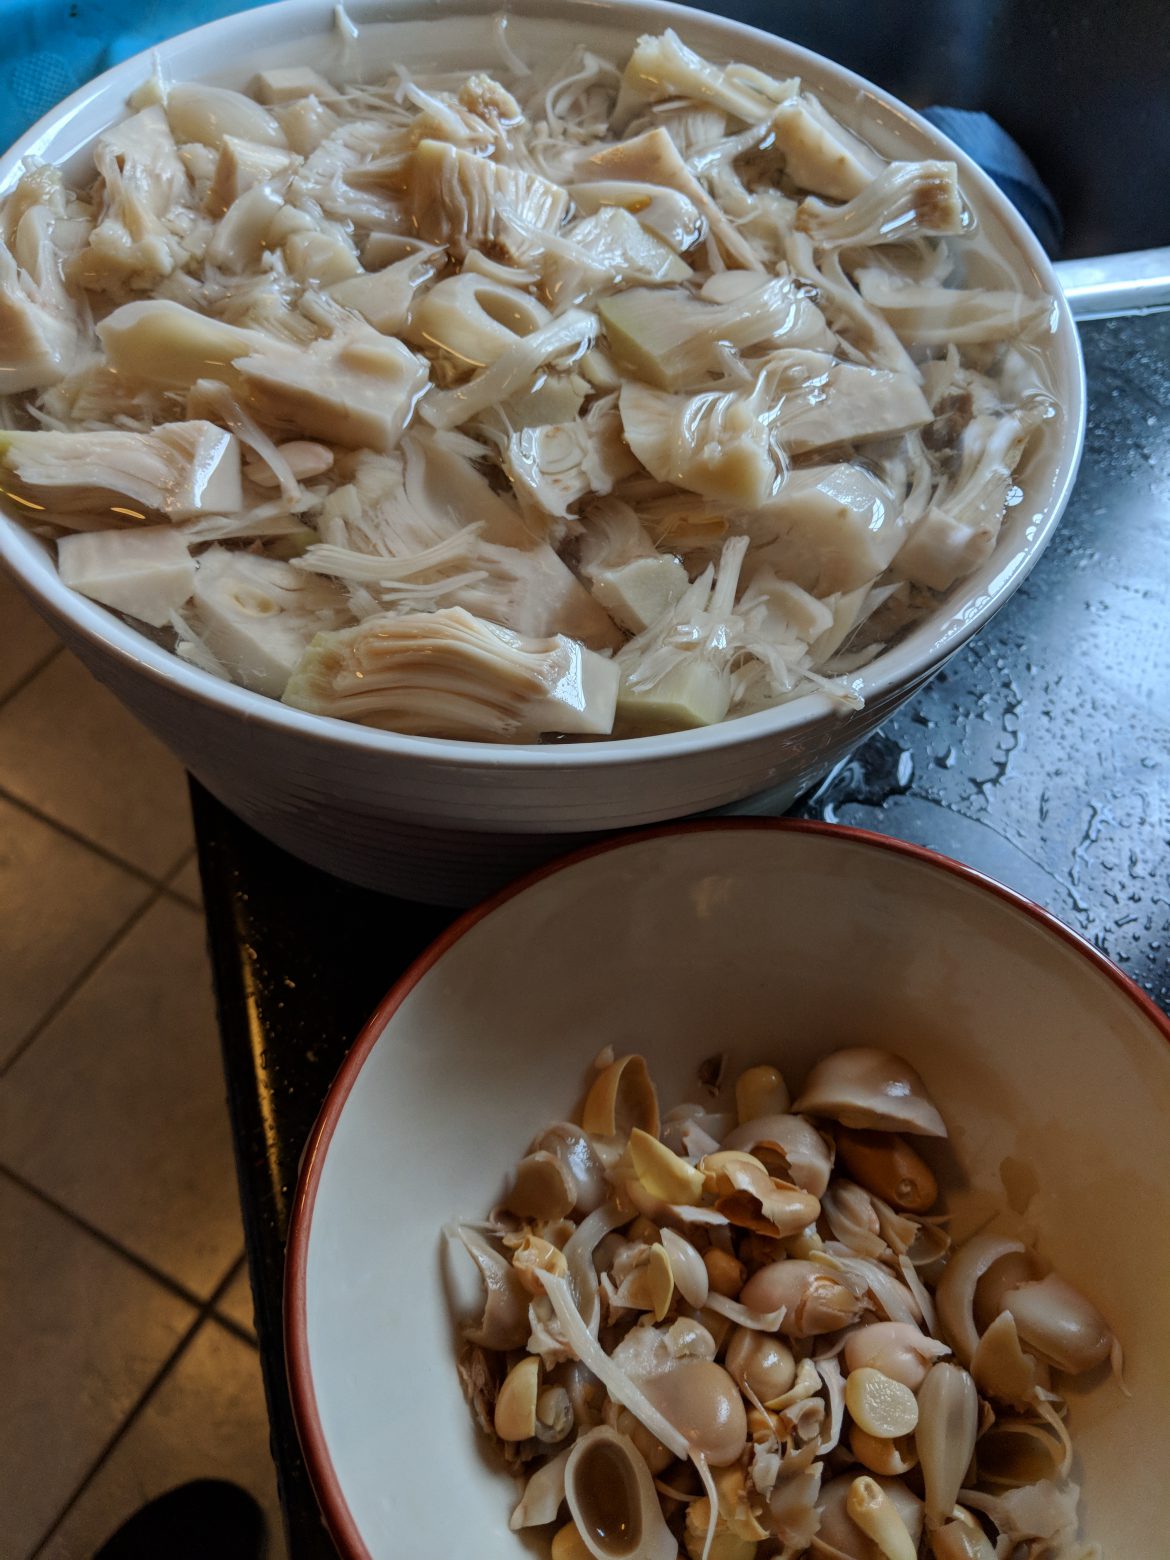
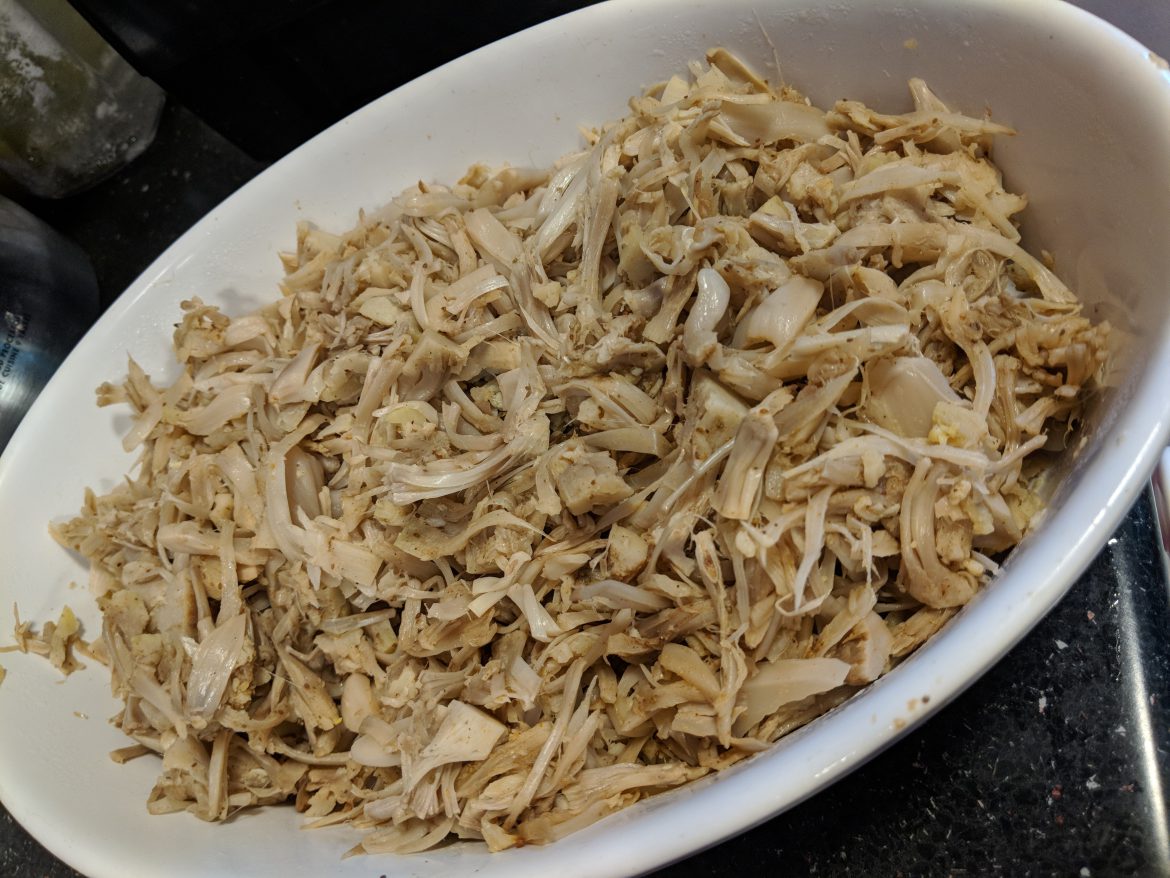
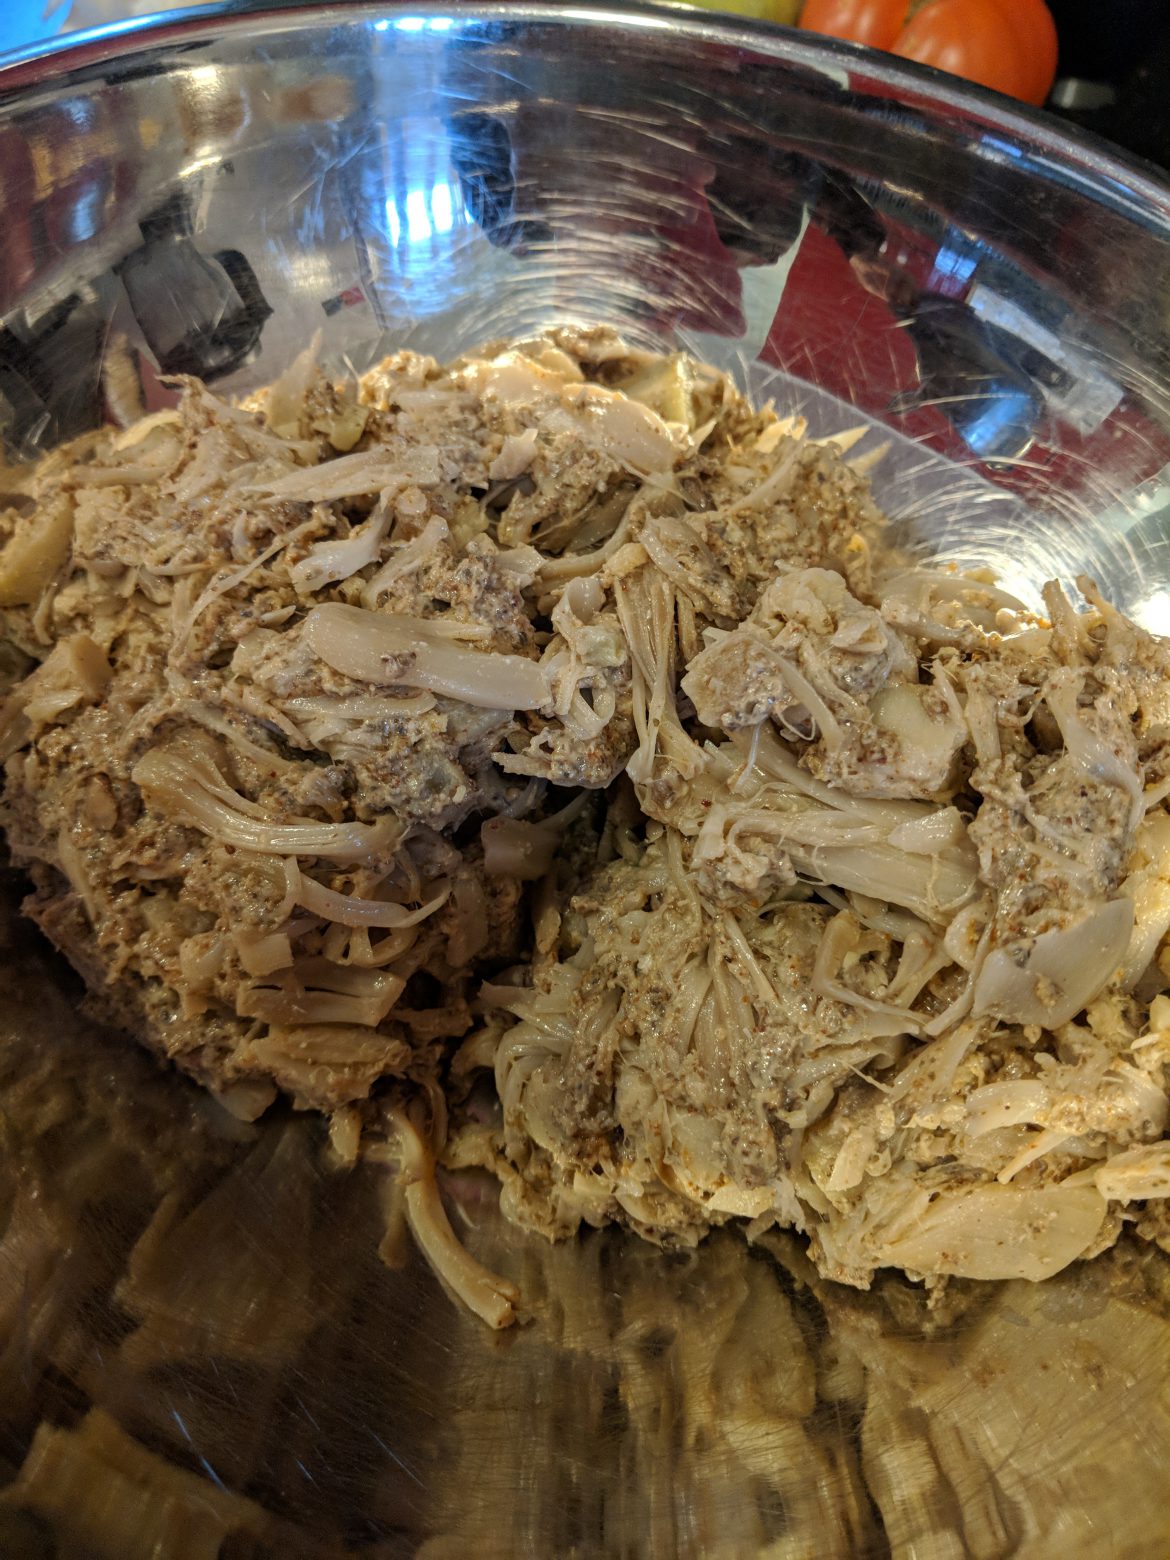
 If you’ve tried or heard about jackfruit “pulled pork”, it’s the dish that inspired me to make a better veggie patty that’s perfect for Thanksgiving and Christmas and would make a great burger patty too! They make the perfect Tofurkey Alternative.
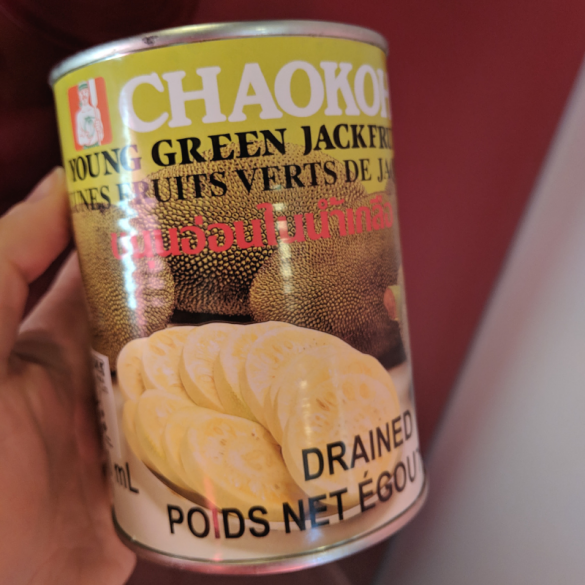 The idea finally came to me after I got around to making jackfruit pulled pork for myself. I had tried jackfruit as a pulled pork alternative at Niagara Veg Fest and some restaurants, but it wasn’t until I made it for myself that the lightbulb went off.